Audio Reactive
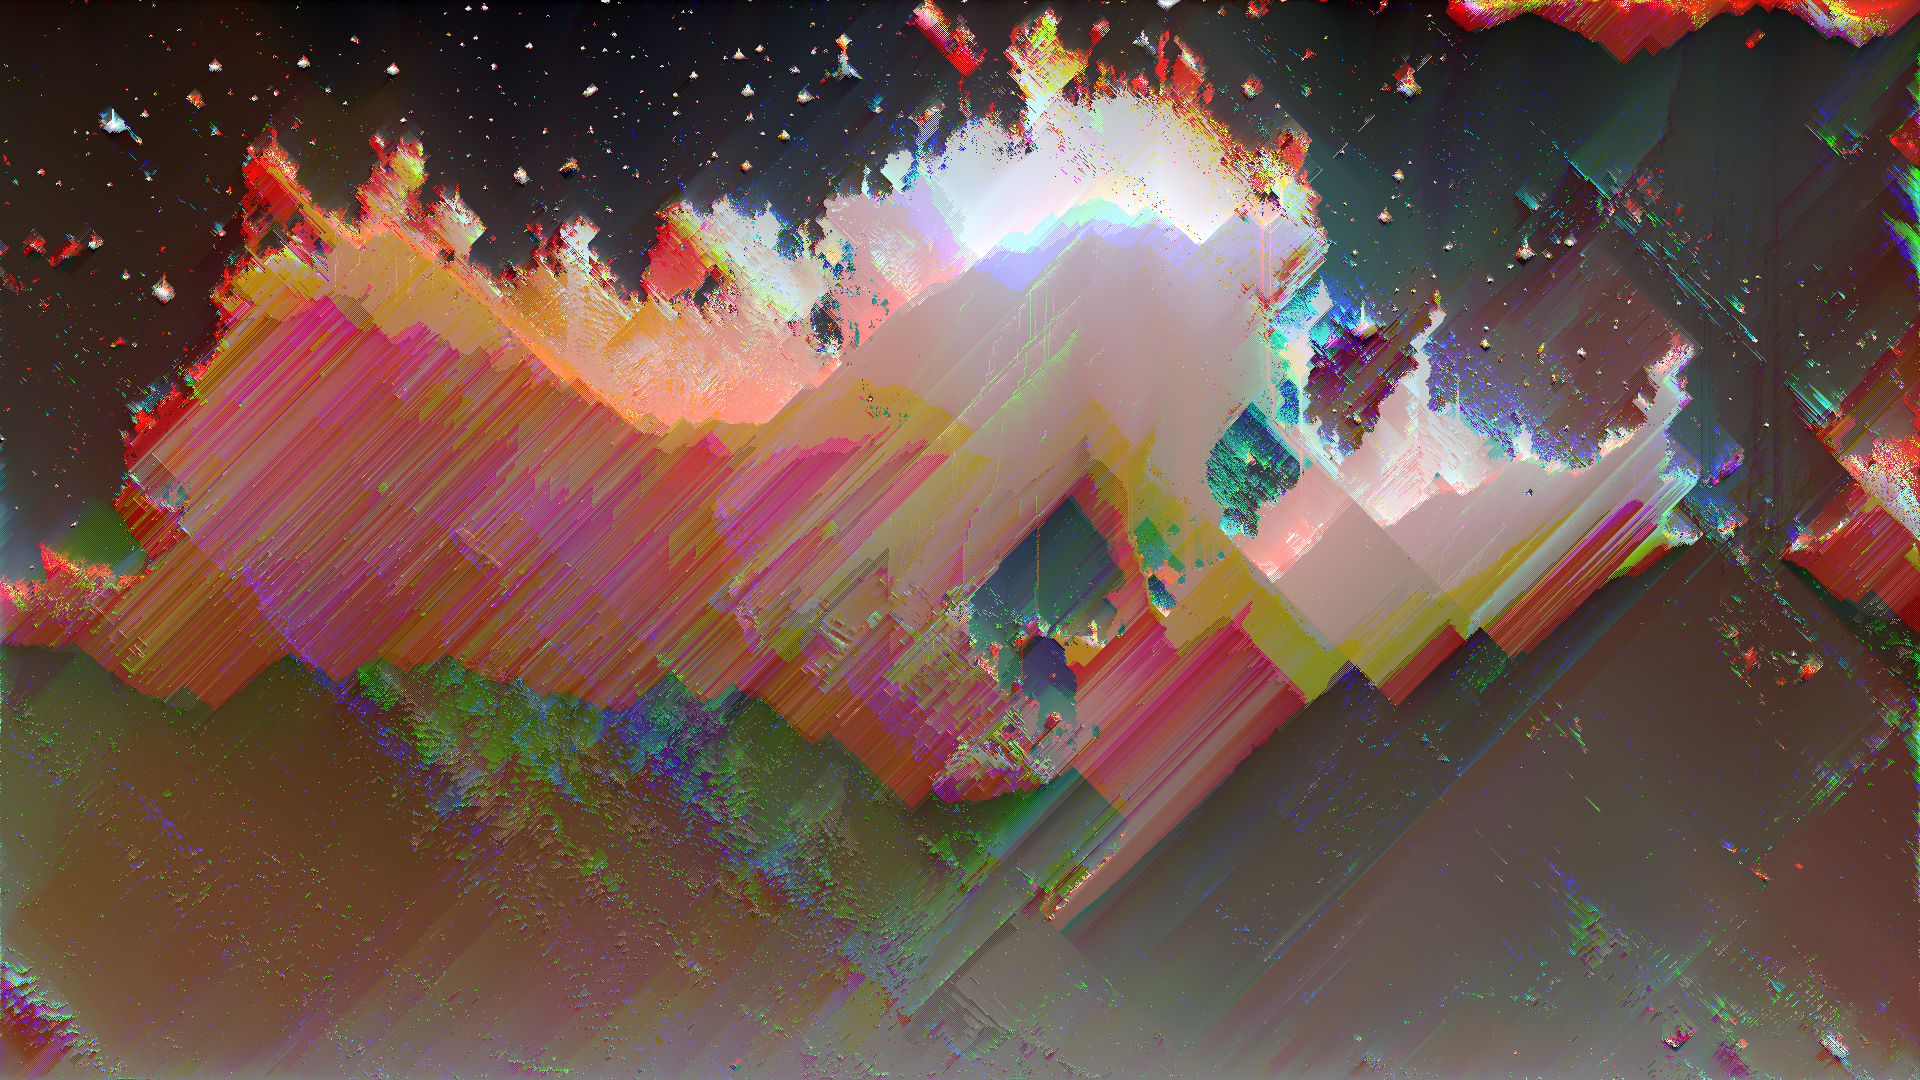
Glitch art audio-reactive visuals are glitched images or video that move, break, and distort in direct response to sound, typically music. They sit at the intersection of glitch aesthetics and VJ/live visual performance, turning errors into rhythmic, synchronized motion.
What are audio-reactive glitch visuals?
In classic glitch art, you intentionally induce or capture digital/analog errors for aesthetic purposes: datamoshed frames, corrupted image files, misaligned color channels, compression blocks, and signal noise. Glitch art foregrounds the “broken” nature of media and makes technical failure visible as style.
Audio-reactive glitch visuals add a second layer: the glitches are driven by audio features such as volume, beats, or frequency bands. Instead of static corruption, you get:
- Glitch intensity pulsing with the kick drum
- Pixel sorting strength increasing with high frequencies
- Color separation or misalignment tied to midrange synths or vocals
- Time displacement and datamosh-style trails that bloom on drops
This makes glitch not just an image style but a performance instrument.
How do they work?
Under the hood, audio-reactive systems follow the same basic pipeline:
-
Audio analysis
- Measure amplitude (overall loudness).
- Detect beats or transients.
- Split the signal into frequency bands (bass, mids, highs).
- Optionally smooth the signal with envelopes so visuals do not jitter.
-
Map audio values to visual parameters
For each visual effect, you connect a parameter to one of these audio streams. Common mappings:- Volume → glitch amount, distortion strength, RGB split distance
- Bass → scale/zoom, camera shake, datamosh frame blending
- Highs → pixel sort threshold, scanline intensity, strobe/flicker
- Beat triggers → switch presets, jump cuts, hard glitch “hits”
-
Render glitch effects in real time
The visual engine applies glitch processes on each frame, using the audio-driven parameters. This can be GPU shaders, node networks, or plugin stacks.
A simple mental model:
Audio in → analysis → numbers (0–1, or dB) → remap → control glitch parameters → render output.
Key software tools
You can create audio-reactive glitch visuals in many environments. Here are some of the most practical for glitchology-style work:
TouchDesigner
- Strengths: node-based, real-time, very popular for AV installations.
- Workflow:
- Use CHOPs for audio analysis (beat detection, envelopes, band-pass).
- Drive TOPs for visual processing.
- For glitch, combine:
- Time Machine / feedback loops for datamosh-like trails
- Displacement, noise, and kaleidoscope effects
- Color channel offsets, pixel sorting shaders (community resources)
TouchDesigner excels at building custom, experimental glitch pipelines and mapping multiple audio features to many parameters.
After Effects + plugins (offline or semi-live)
- Strengths: polished looks, deep control, great for music videos.
- Tools/approach:
- Use an audio amplitude track or dedicated “Beat Reactor”-style modules in third-party glitch plugins.
- Map audio to parameters like glitch intensity, block size, RGB separation, or displacement.
- Stack effects such as misalignment, film damage, pixel sorting, and displacement for layered “broken screen” looks.
This is better for pre-rendered pieces than live, but you can still improvise by working in timelines synced to audio.
VJ / live visual tools
-
Resolume / VDMX / MadMapper:
- Load glitch loops or generative patches.
- Use built-in audio analysis to modulate opacity, effects, and parameters.
- Apply glitch effects (displacement, feedback, color delay) and tie them to specific frequency bands.
-
Audio-reactive shader environments (Hydra, custom GLSL, etc.):
- Feed audio data into shader uniforms.
- Implement pixel sorting, datastep, bitcrush, or chromatic aberration in GLSL.
- Ideal for DIY glitch experiments.
Practical design tips
1. Start with a clear visual base
- Use high-contrast footage, graphic shapes, or simple gradients.
- Glitch needs structure to break; flat, low-contrast content often looks muddy when distorted.
2. Limit what is audio-reactive
- Do not map everything to audio. Choose 1–3 key parameters (intensity, displacement, color shift).
- Keep some elements constant so viewers can perceive the “before and after” of each glitch burst.
3. Use thresholds and envelopes
- Set thresholds so glitches appear only when audio crosses a certain level (kick hits, snare, drops).
- Use smoothing/envelopes so visuals react quickly but decay gracefully, avoiding jittery flicker.
4. Match glitch behavior to musical structure
- Micro: tight, rhythmic glitches on percussion.
- Macro: stronger, longer distortions on breakdowns and drops.
- Consider “sections” of a set: subtle compression artifacts in verses, heavy datamosh storms in choruses.
5. Embrace imperfection, but control it
- Push parameters until they almost destroy the image, then back off slightly.
- Combine “hard” errors (tears, frozen frames, blocky corruption) with “soft” ones (blur, glow, feedback) for depth.
6. Perform with it
- Map key effect parameters to MIDI or OSC so you can override or accent the audio-reactivity in real time.
- Use manual triggers for sudden black frames, hard cuts, or extreme glitch bursts.
By treating audio-reactive glitch not just as an effect preset but as a controllable system, you can craft visuals that feel both broken and intentional, synchronizing technological failure with musical structure in a way that is uniquely glitch.