Glitch Effect Art Tutorial: 5 Techniques for Beginners
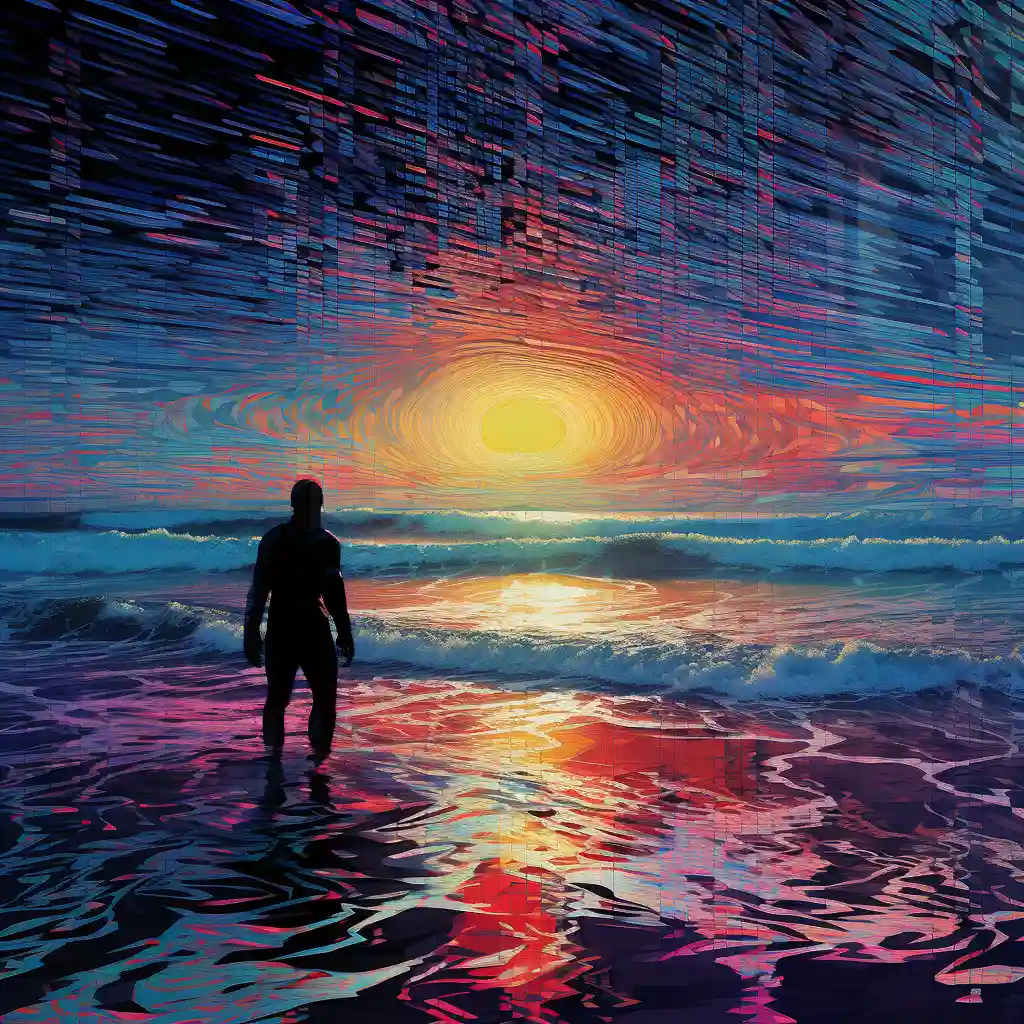
Glitch art is the practice of intentionally breaking or misusing digital systems to create unexpected visual results, often by corrupting files, abusing codecs, or stressing hardware. It sits at the intersection of art, error, and technology, using flaws as a primary aesthetic instead of something to be fixed.
What is glitch art?
Glitch art focuses on digital or analog errors such as pixel fragmentation, color channel shifts, compression artifacts, freezes, and data corruption. Instead of treating these as technical problems, glitch artists adopt them as visual language to explore topics like:
- The fragility of digital media
- The distance between polished interfaces and the chaotic data underneath
- Surveillance, corporate control, and mass media systems
Glitch art can be purely aesthetic, but it often carries a critical or experimental attitude toward technology.
How glitching works (the basic idea)
Most glitch techniques revolve around one core idea:
Change the data in ways the software or hardware does not expect, then capture the results.
At a technical level, this often means:
- Editing image data as text (data bending)
- Forcing codecs or programs to misinterpret data, so they “break gracefully” into interesting artifacts
- Reducing fidelity (resolution, compression, color depth) until the media degrades in visible ways
You do not need to understand all the internals of file formats, but you do need to understand that small changes in binary or text data can produce dramatic visual shifts.
Core beginner techniques
1. Databending with a text editor
This is one of the most classic and accessible glitch methods.
Basic workflow:
- Start with a copy of a JPG or BMP.
- Change the file extension to
.txtor open it directly in a text editor. - Avoid the very top of the file (header) to reduce the chance of total corruption.
- Add, delete, or paste random text into the body of the file.
- Save, revert the extension to
.jpg(if needed), then open the image to see the glitch.
You will see:
- Horizontal tearing
- Color banding
- Blocky compression-like artifacts
If the file will not open, undo or reduce your changes and try again.
2. Glitch apps and filters
Glitch apps give you instant results with minimal friction and are ideal for experimentation.
Common features:
- Databending-style distortions
- Pixel sorting effects
- RGB splits and chromatic aberration
- Scanline and VHS-style interference
They are useful for:
- Quickly prototyping compositions
- Discovering looks you later re-create with more manual methods
- Generating textures or layers you combine in other editors
3. Pixel sorting (software-based)
Pixel sorting reorganizes pixels along rows or columns based on brightness or another property, producing streaked and melting effects.
Typical steps (tool-dependent):
- Export a source image.
- Run a pixel-sorting script or app on the image.
- Adjust parameters like threshold, direction, and mask to control where sorting occurs.
This technique is especially effective on images with clear gradients and large flat areas.
4. “Fidelity destruction”: compression and resolution abuse
Reducing fidelity is a direct way to reveal the seams of digital media.
Methods include:
- Over-compressing JPEGs repeatedly to generate harsh block artifacts and color smearing (generational loss)
- Scaling images down aggressively, then upscaling them back to original size
- Saving through mismatched color profiles or limited color palettes
This is the visual equivalent of “a copy of a copy of a copy.”
5. Misalignment and compositing
Even within conventional editors like Photoshop, you can build glitch aesthetics without touching raw data.
Examples:
- Duplicate a layer and offset it slightly per color channel (red, green, blue) to create RGB splits.
- Select portions of an image, copy to new layers, and apply emboss, blur, or displacement to simulate glitch patterns.
- Use masks to reveal glitched and unglitched areas together, creating contrast and rhythm.
This is a good bridge between traditional digital art workflows and more experimental glitch methods.
Practical tips for beginners
- Always work on copies. Many glitch methods corrupt files beyond repair; treat every original as untouchable.
- Change small things first. In data bending, subtle edits often yield better results than massive deletions.
- Iterate in passes. Apply one glitch, save a new version, then glitch that version again. This builds depth instead of chaos.
- Embrace partial failure. Crashes and unreadable files are part of the process; take notes on what broke them for future control.
- Combine analog and digital. Screen-capture, re-photograph your monitor, or print-and-scan to add physical distortion layers.
- Think conceptually. Consider what kind of “error” suits your subject: clean pixel sorting for architectural images, violent data corruption for themes of decay or surveillance, etc.
Glitch art rewards curiosity. Treat every tool and file format as something you are allowed to misuse, and document what happens so you can reproduce your favorite “mistakes.”
Related Techniques
- Databending — File-level data corruption
- Pixel Sorting — Algorithmic pixel rearrangement
- RGB Split — Color channel separation and offset
- Photoshop Glitch — 6 hands-on Photoshop techniques
- GIMP Glitch — Free alternative workflows
- Hex Editing — Direct byte manipulation
- Color Banding — Posterization and bit depth reduction
- Generational Loss — Degradation through repeated compression
- Glitch Apps — Mobile and web glitch tools
- Free Glitch Tools — No-cost software options